Episode VIII – Miner’s Strike
The intelligence retrieved from the captured officer and his shuttle had struck gold, and the Rebels in the Aturi Cluster had located a vulnerable Imperial supply hub. If they moved quickly, the timing was right for Brown Squadron to strike a devastating blow to the Imperials forces in the Cluster. The next shipment transfer was about to go down, and the Rebels could not only disable the orbital transfer station, but they could destroy several vulnerable Imperial transports in the process. All pilots on deck were scrambled.
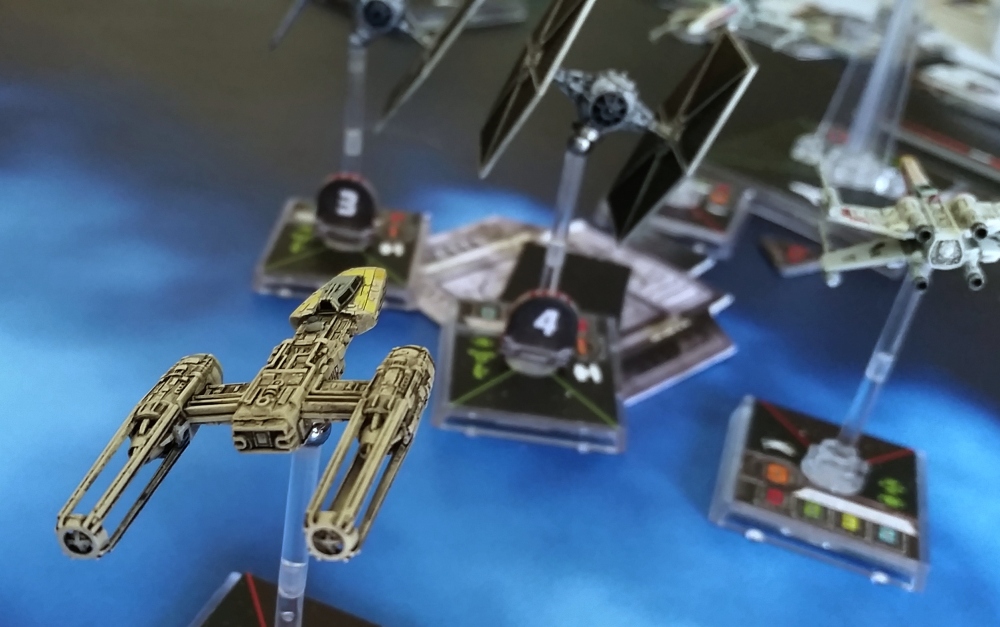
Brown Squadron Flight Roster – Mission: Miner’s Strike
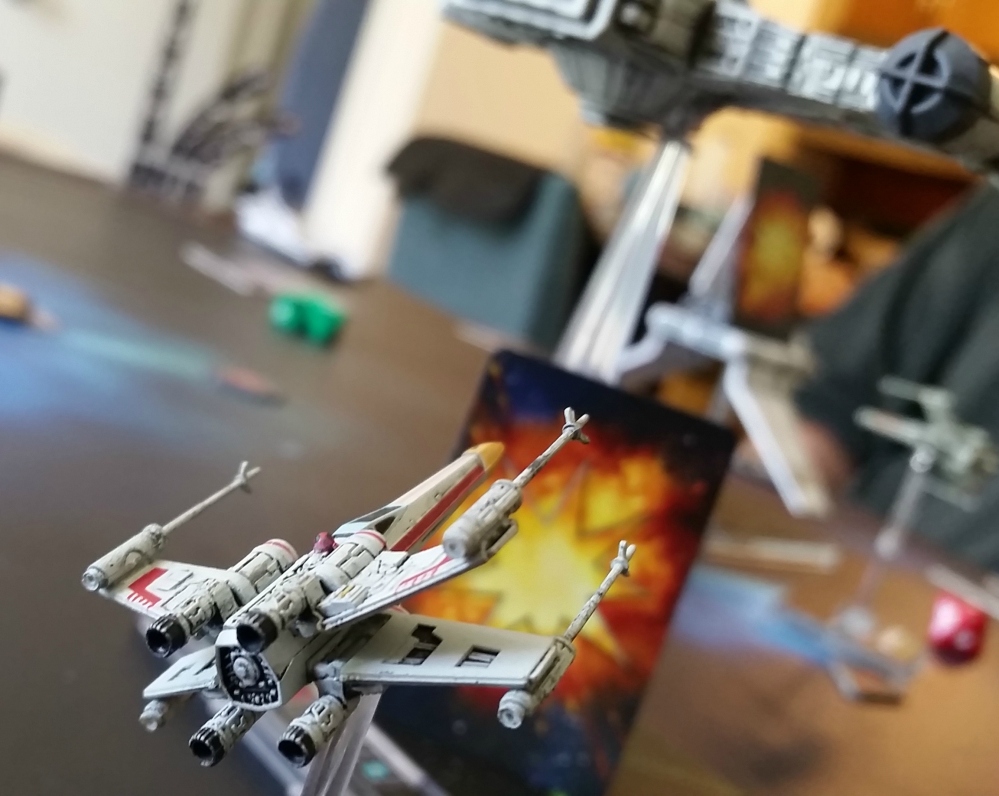
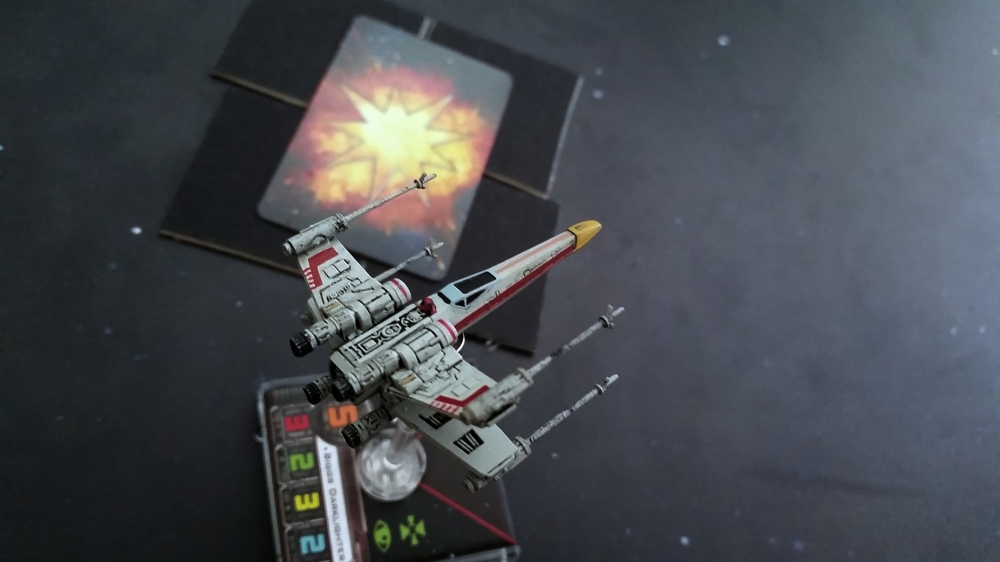
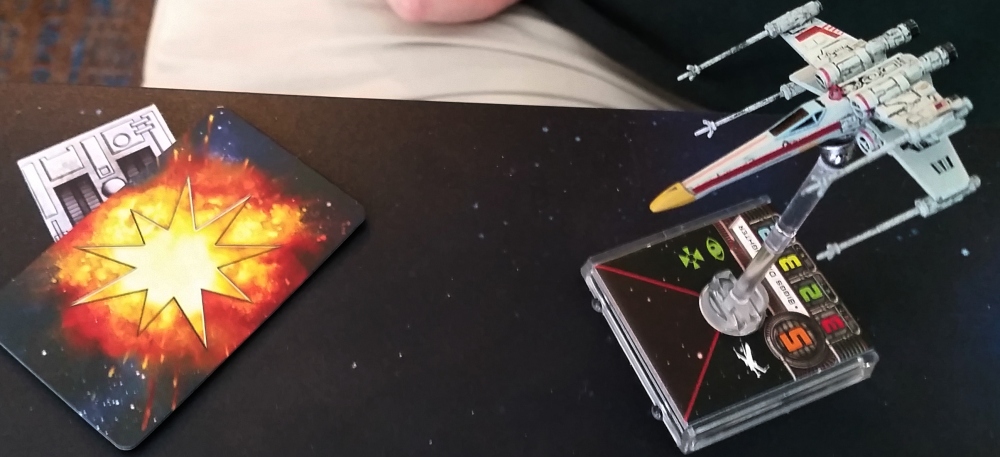
- X- Wing Brown 4 – Lieutenant Hesh (will see you, in Hell) – The Veteran Sergeant- Veteran Imperial pilot turned Rebel.
- X- Wing Brown 5 – “Little” Crassus – Daredevil young pilot known for his affinity for Koiogran turns.
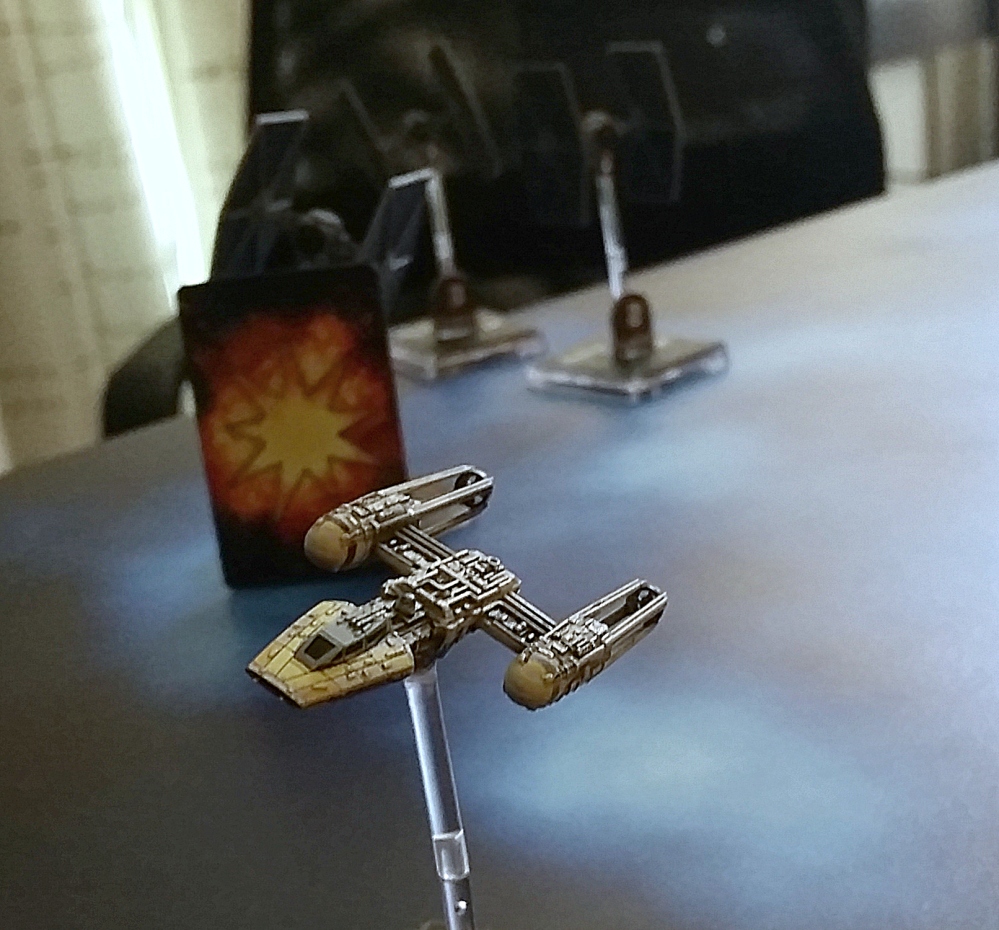
- Y-Wing Brown 8 – Unnamed Pilot – Twin Laser Turret
- X- Wing Brown 9 – Eleven Numb – Sullustan, younger brother of Ten Numb
Brown Squadron exited hyperspace as close to the planet as possible, trying to conceal their presence from the Imperials as long as possible. Waiting until Imperial patrols were out of position, they accelerated into the fray. The green flashes of the Imperial turbolaser defenses began to light up the battlespace, but the Rebel ships were so small they were able to evade them for the meantime. Their timing had been perfect. The shuttles were still docked as tugs shuffled back and forth to load them with cargo. While Brown 4 tried to draw off one of the TIE patrols, the rest of the Rebels plunged headlong towards the nearest shuttle as it hurried to power up and escape.
Brown 9 rolled to avoid fire as he put fire into the closest turbolaser.
“Watch yourself! There’s a lot of fire coming from the right side of that docking tower.”
Brown 8, bringing up the rear, targeted it with his laser turret.
“I’m on it”
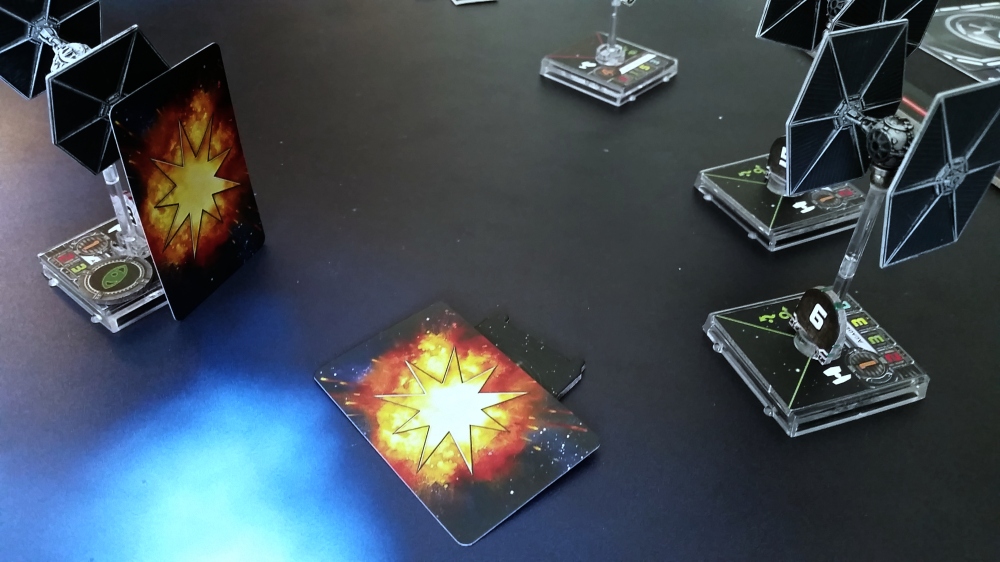
Laser blasts struck home, finishing off the tower, and its guns fell silent. But the second Imperial patrol had reached them.
Meanwhile, Brown 4 exchanged fire with the first patrol as they passed headlong. His shields flashing with laser blast impacts, Brown 4 avoided the worst of their fire in the flyby, and angled in on one of the storage containers being pushed by a tug, damaging it.
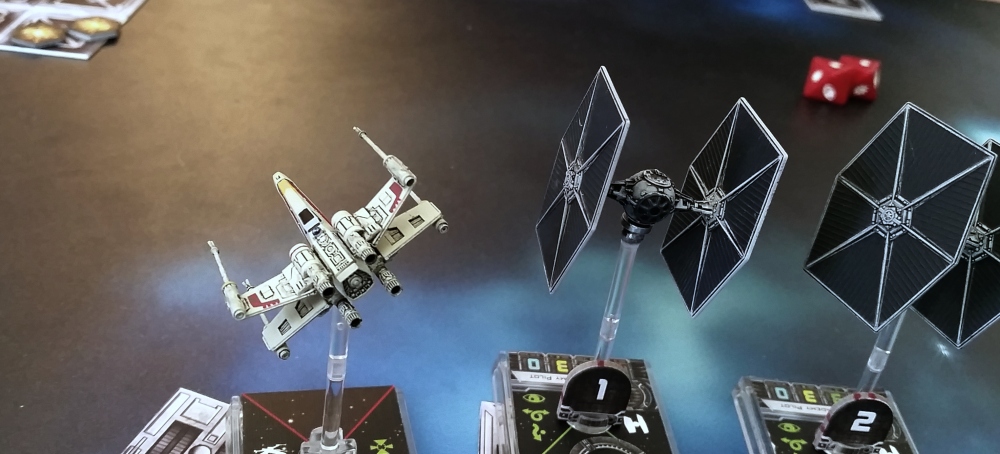
The TIE Fighters from the first first patrol peeled off to engage the rest of Brown Squadron, raking them with laser fire.
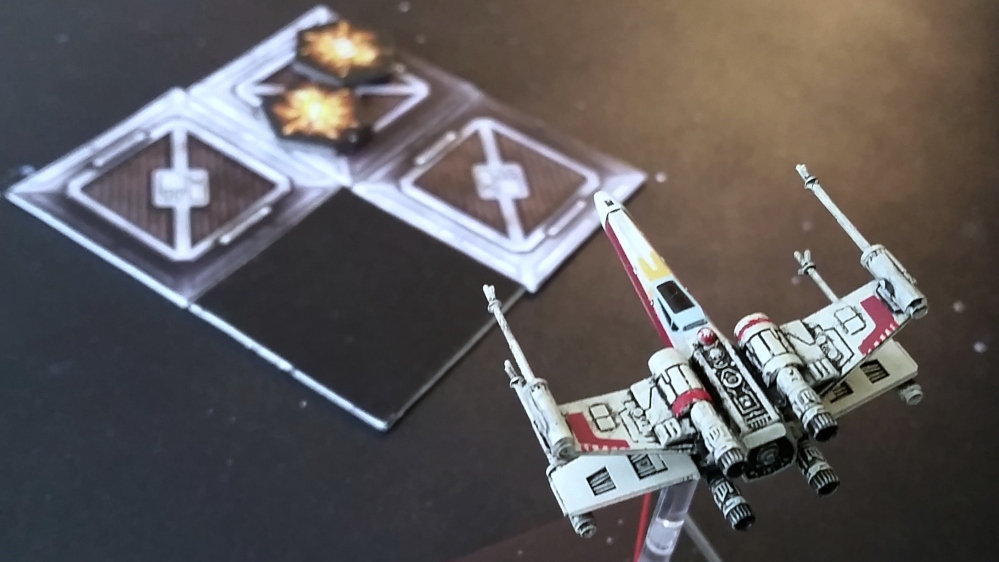
Brown 8, seeing his opportunity as the two patrols converged, dropped a Proton Bomb, which damaged three of the fighters.
Swinging around underneath the docked shuttle, and over the docking station, Brown 9 finished off one of the damaged TIE Fighters from the first patrol.
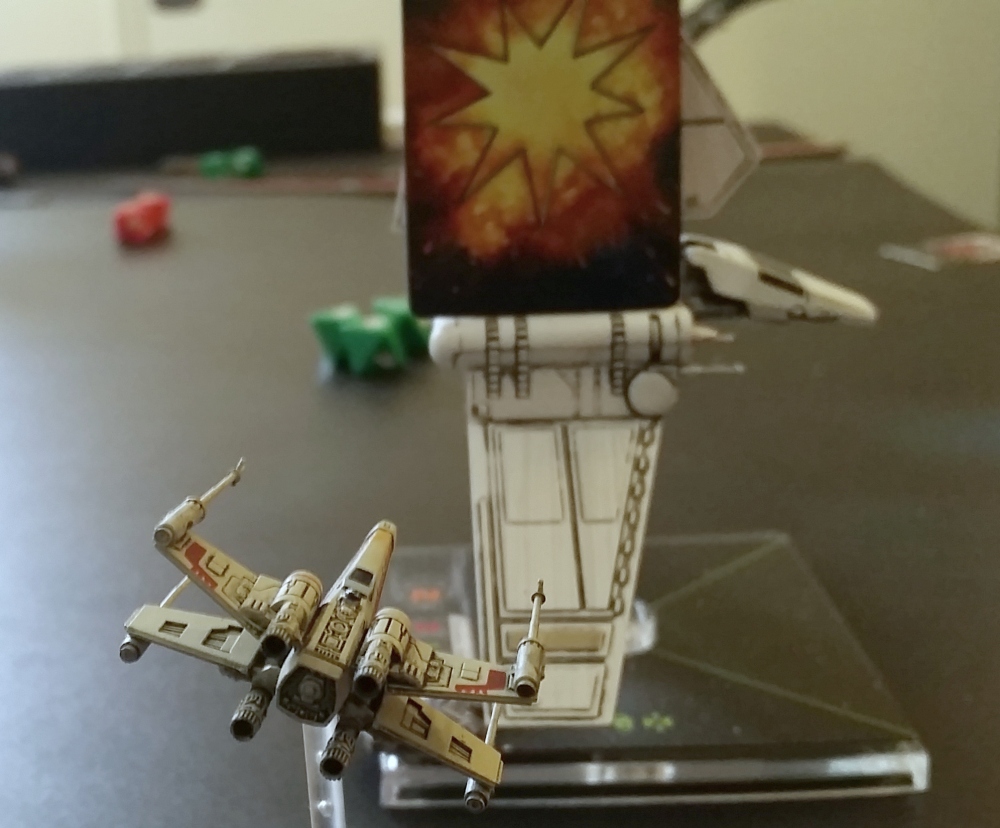
Brown 4 and 5 turned their guns on the shuttles as they undocked and moved to escape. The shuttles had little hope. Executing a koiogran turn and then pitching his craft hard to the left Brown 4 decreased power to his engines, outmaneuvering the desperate Imperial pilot in the second shuttle. Meanwhile, Brown 8’s turret finished off another TIE Fighter.
The first Imperial transport, a YT-2400 that had been confiscated from a former smuggler, was the first to fall, its shields already weakened by the Rebels on their first pass. Brown 5 came u underneath it, destroying its engines, which set off a chain reaction which consumed the ship.
Almost simultaneously, Brown 4 scored a direct hit that split the second shuttle into fragments. Despite the stress of his consecutive hard maneuvers, Brown 4’s weapons were true on target.
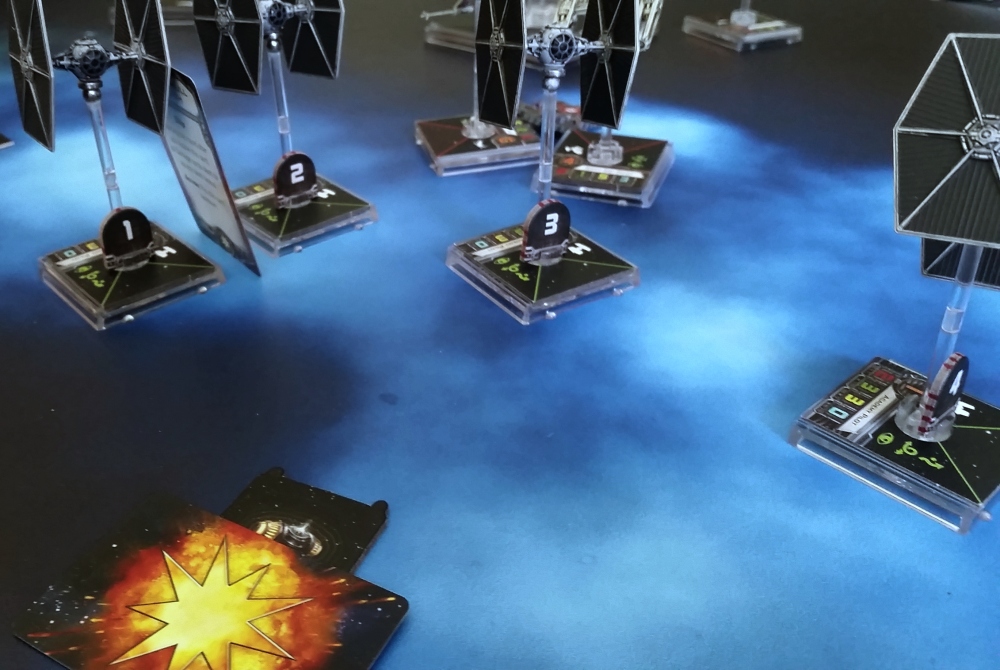
With both transports destroyed, Brown Squadron turned to finish off the remaining cargo and the last of the TIE Fighters. But Imperial reinforcements had arrived. However, Brown 8’s payload was not yet expended, and he dropped a second proton bomb, which finished off one of the damaged Fighters as both Brown 9 and Brown 5 destroyed another cargo container.
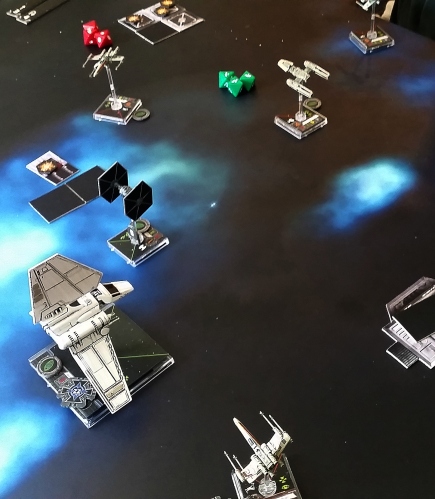
Turning into the Imperial reinforcements, Brown 4 swung in behind them and picked off one of the TIE Fighters. Turbolasers scored hits on Brown 9 and Brown 5, but they weren’t bad.
The Imperial defenders were nearly totally overwhelmed as the Rebels zipped all across the docking area, lighting up cargo pods and destroying enemy fighters.
The Rebels were in luck, as a third Imperial transport had launched, its escorts in tow and they pounced on it, with Brown 4 flipping in behind the formation.
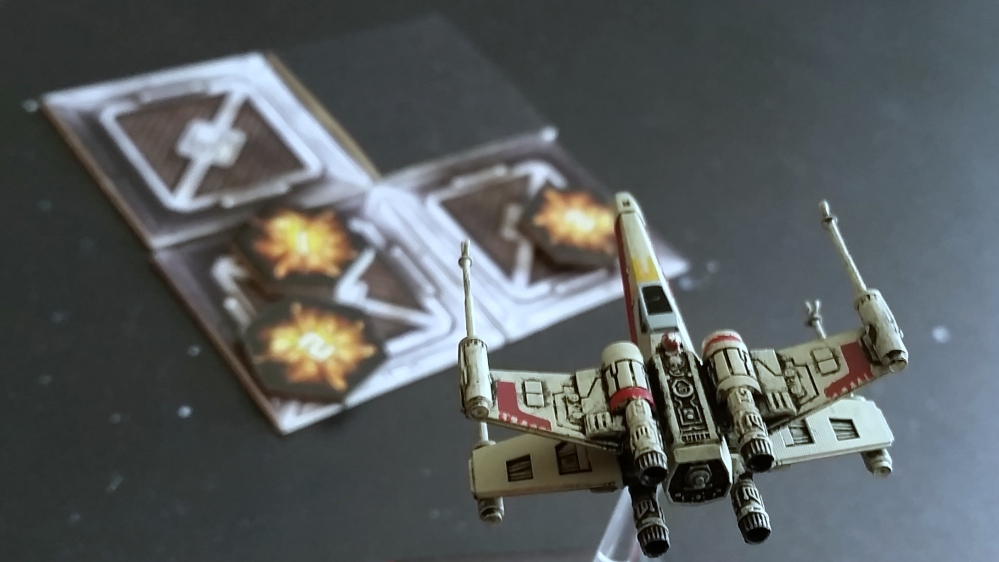
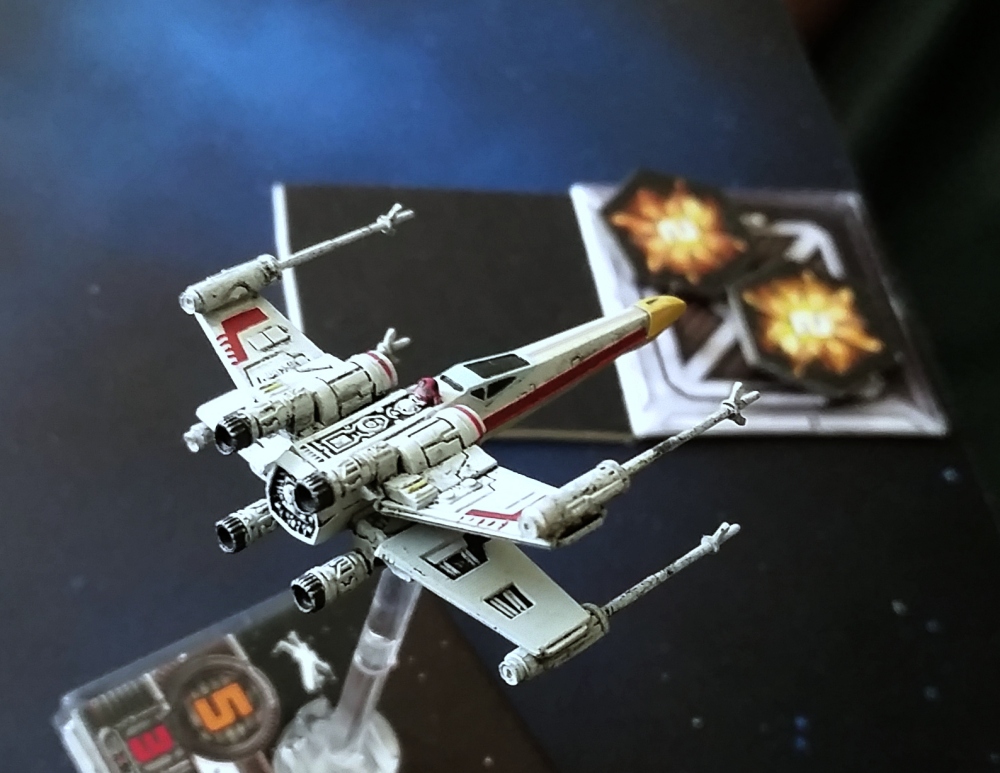
As Brown 5 continued to destroy cargo containers, Brown 9 swooped in on a turbolaser battery, finishing it off.
With the mission nearly complete. Brown 5 continued on to destroy the last of the turbolaser towers.
It had been a total rout. The Imperial supply hub had been completely destroyed. All that was left was the mop up as Brown 4 and Brown 9 finished off the last of the Imperial craft.
Slipping away to hyperspace, Brown Squadron left behind a cluttered void of Imperial debris.
Meanwhile, back at the Rebel base, Brown 4’s three Koiogran turns had not gone un-noticed.
The Veteran Sergeant’s After Action Report
This mission went almost perfectly. Nearly all the Rebel ships were damaged, but none of them severely. Outmaneuver on my X-Wing continued to prove its worth (as it had in previous play-throughs of the campaign), stripping the Lambda shuttles (and their one proxy) of any ability to defend from attacks if I was outside their firing arc (which was easy to maintain given how the shuttles had a pretty poor maneuverability dial and were fairly predictable). Our synergy on this mission was rock solid too, with everyone contributing about equally to both defeating enemy fighters and achieving the objectives. We fulfilled all the primary and secondary objectives. The mission could have been a little harder if we hadn’t drawn a random 3rd shuttle (and instead gotten a tougher Imperial ship), but by that point, it was probably academic.
The lighting where we played was kind of weird and inconsistent across the afternoon, with a lot of backlight and glare, resulting in a strange range of exposure levels for the pics. I tried to correct them as much as possible, but could only do so much.
Return to the Heroes of the Aturi Cluster Home
Star Wars: Episode 7 – Heroes of the Aturi Cluster – Nobody’s Home
Star Wars: Episode 9 – Coming Soon!