Pardon the Warhammer 40K interruption.
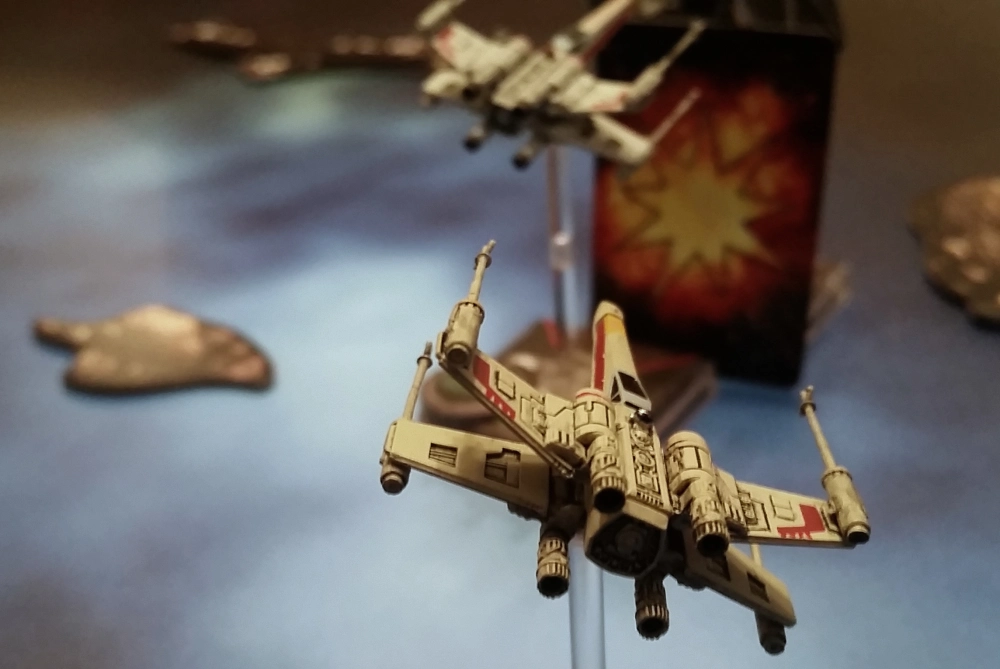
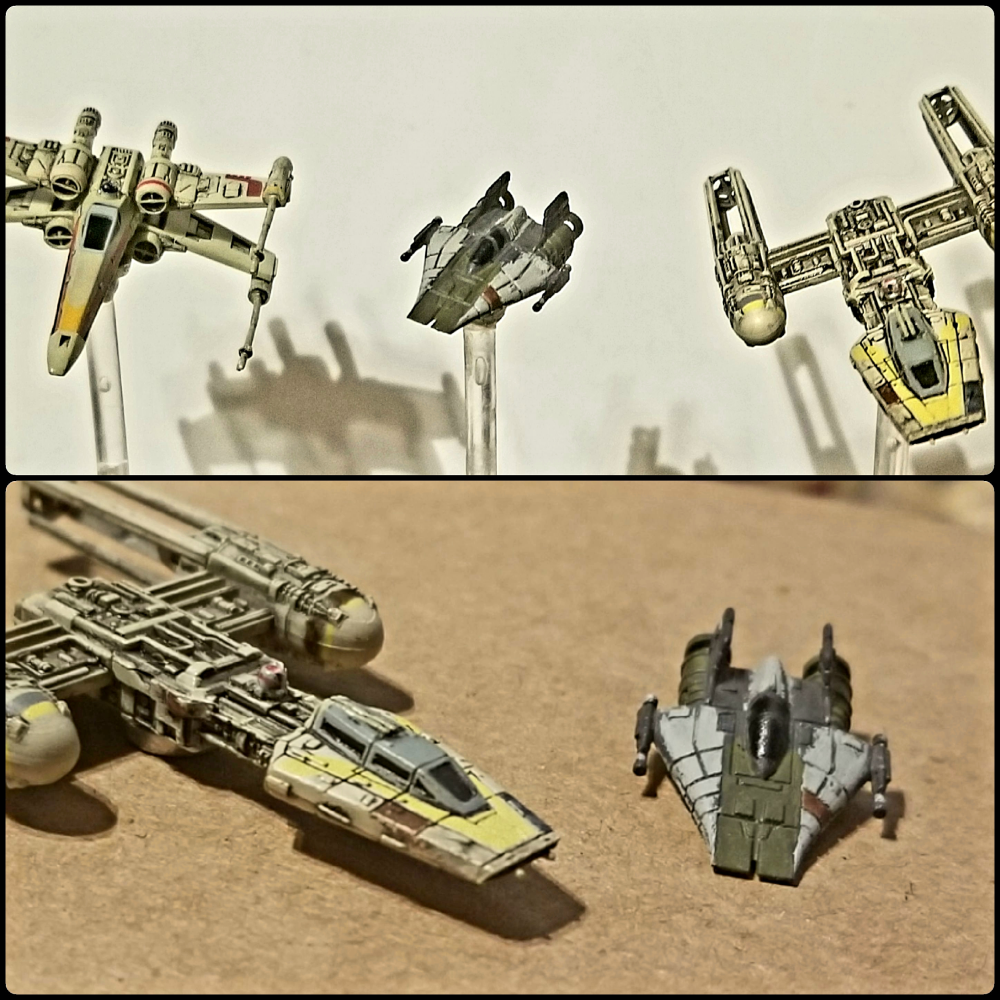
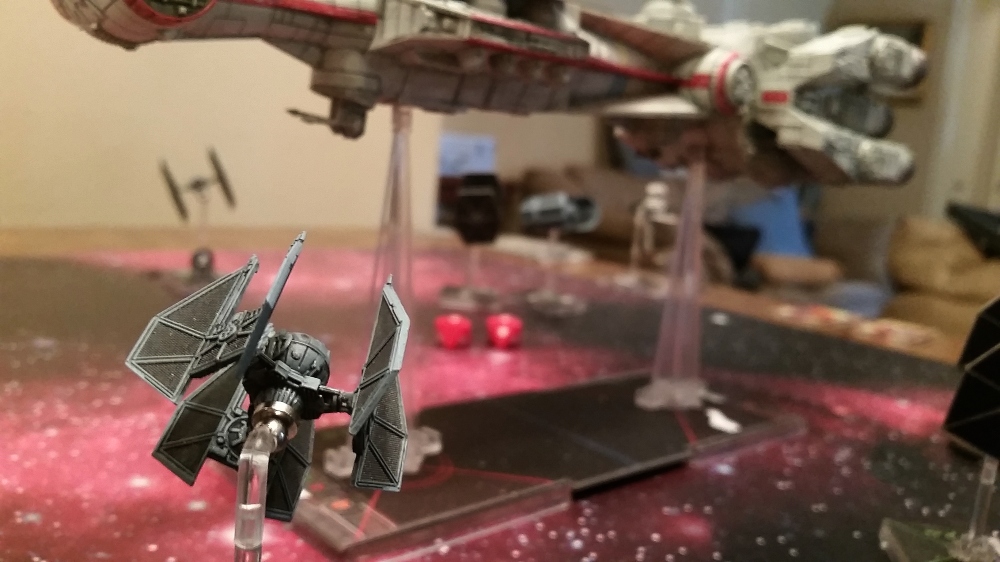
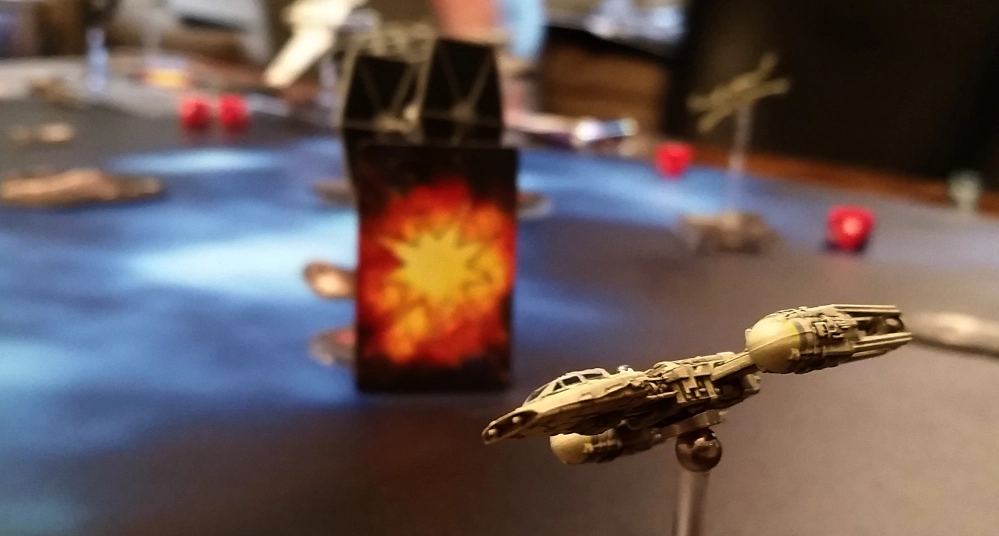
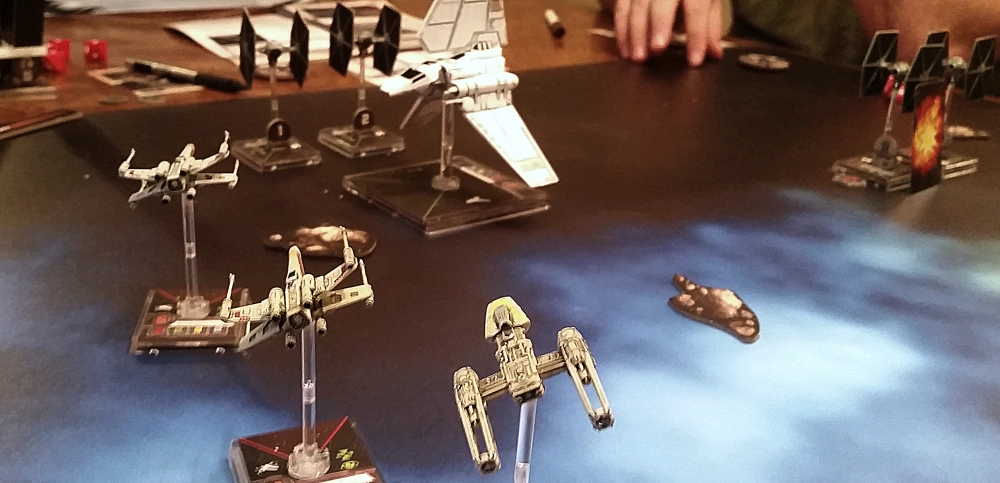
I’ve used a fair number of magnets in 40K for arm swaps, but with X-Wing, they offer up a whole new range of visual flair to the game, with banking and swooping craft. It really deepens the immersion. They also allow for more dynamic game photography if you’re crafting battle reports.
Speaking of Battle Reports. Have you checked out the Adventures of Brown Squadron, in my Heroes of the Aturi Cluster series?
So how is it done?
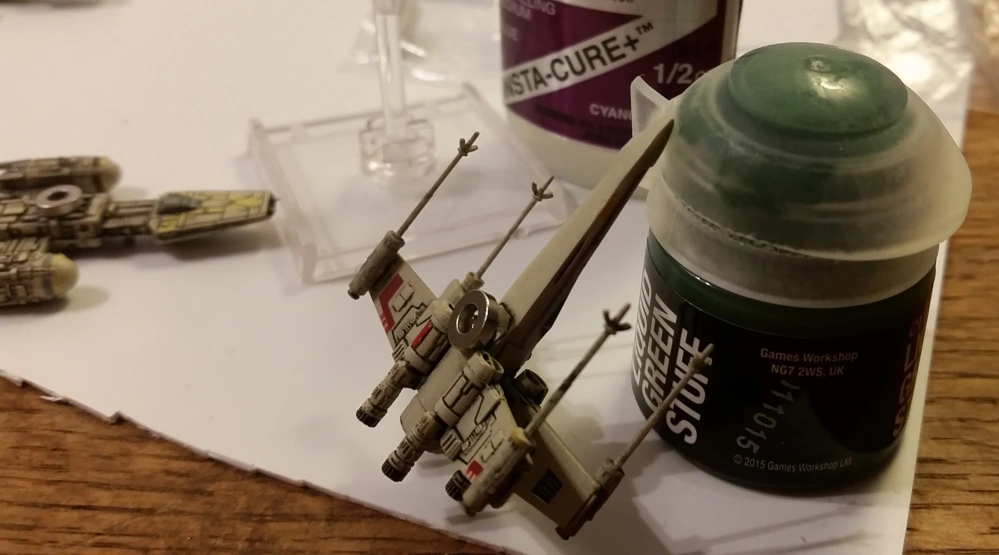
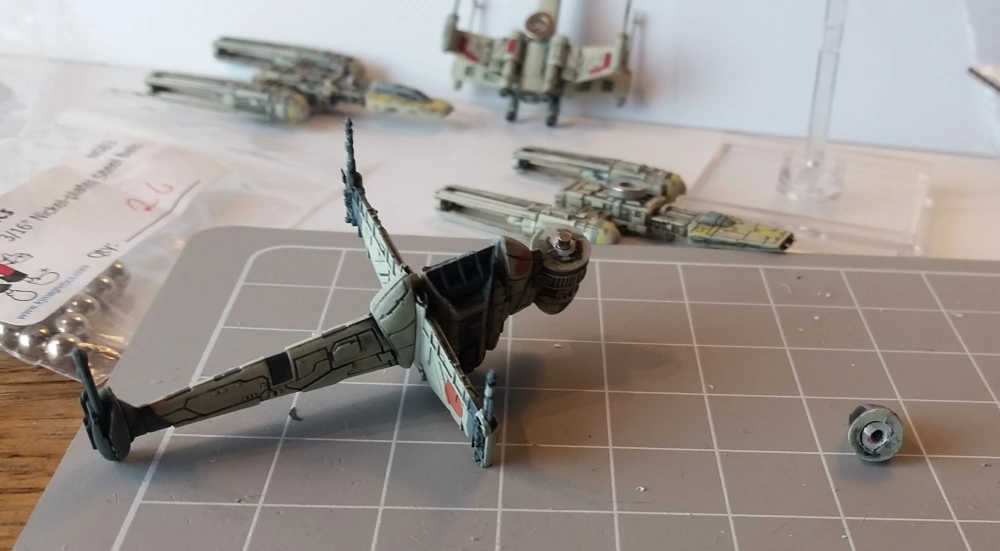
Well, first I clip off the plastic post. Some people are adamant that with patience you can work the peg out, but honestly, I’m never going to undo magnetizing them, so keeping the post seems pointless.
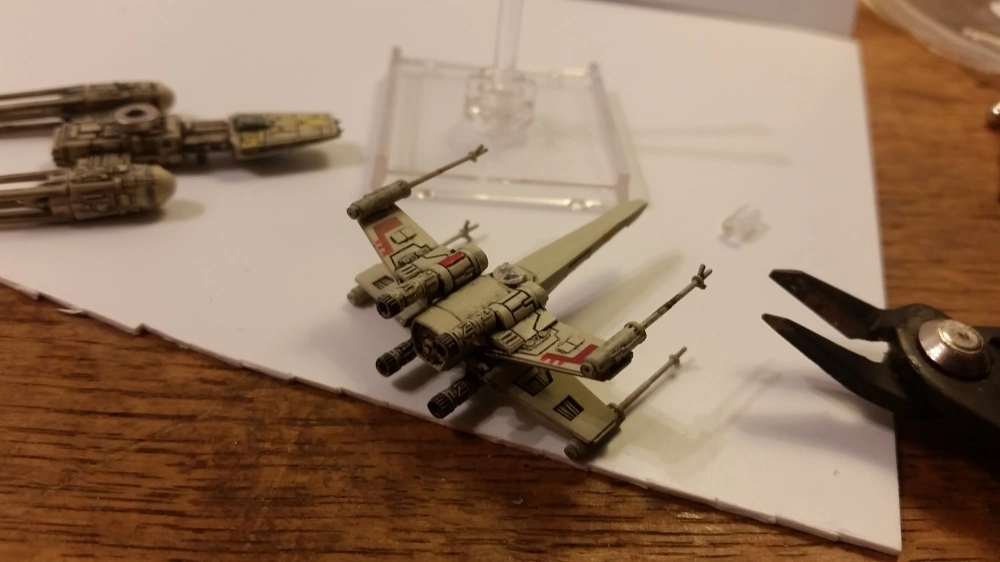
Then I glue the ring magnet over top the post hole. On the X-Wing, this overlaps the engines, so you’re just going to have to accept it won’t fit flush and there will be some jut. Good glue shouldn’t present a problem for this. Half the ring should still have solid contact. On other ships, like the Y-Wing in the background, it will sit right where the post was with no problems. The “balance point” won’t be important on the majority of ships, but you should test on ones that are oddly shaped, or front/back heavy.
Why ring magnets instead of cylinders? I tried it with some 1/8th width disc magnets I had lying around for Space Marine projects, but the surface area just wasn’t sufficient to make a good contact.
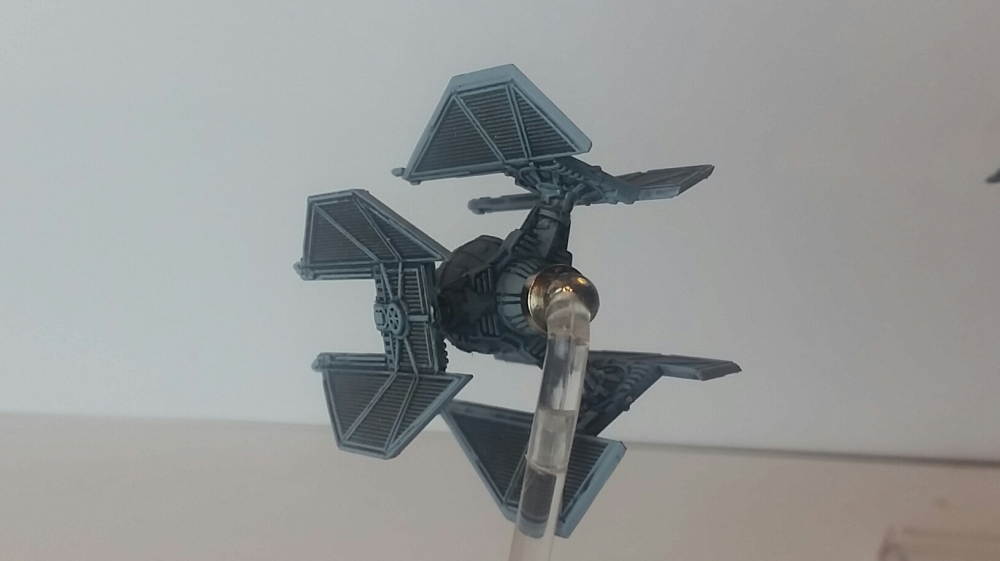
That’s really it. The ship is done. There are some minor alterations you’ll have to do for some ships like the B-Wing or TIE Defender that won’t sit properly on the top of a peg.
Now to do the peg.
I simply clip the top off with sprue cutters. For the ball bearing, it is good to rough the surface up a little with a file to create friction.
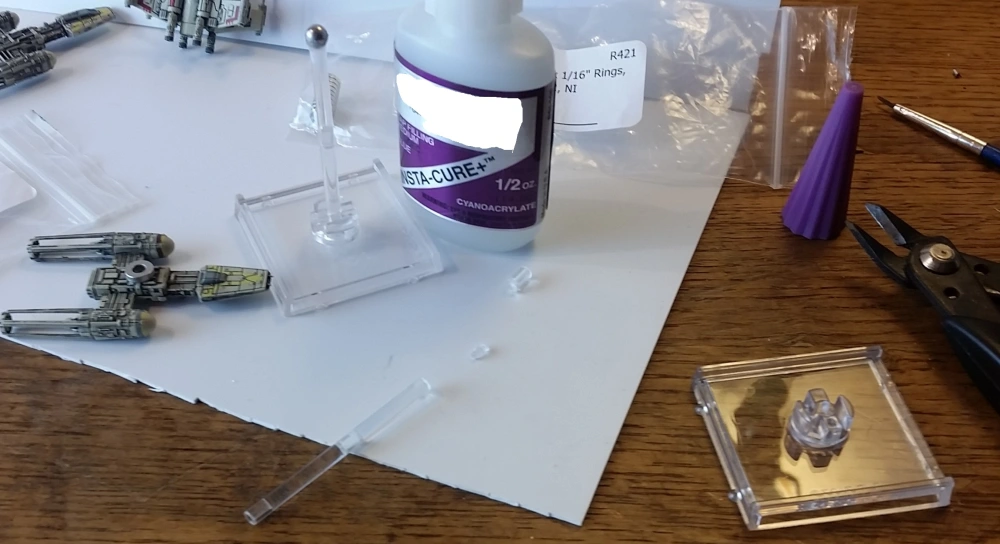
Then I use a rounded file to file a very shallow groove into the top of the post. This gives a little more surface area for the glue and ball. Stick the post into the base, and use gravity to help you get this initial contact and adhesion.
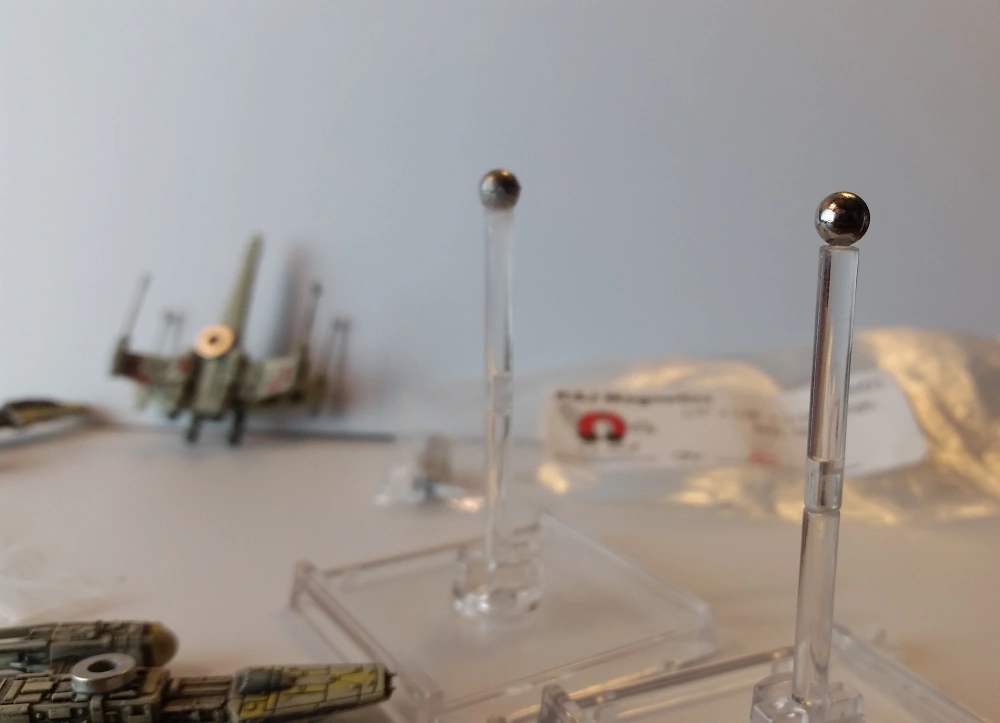
Once the glue has dried, simply add more gap-filling cement around the edges.
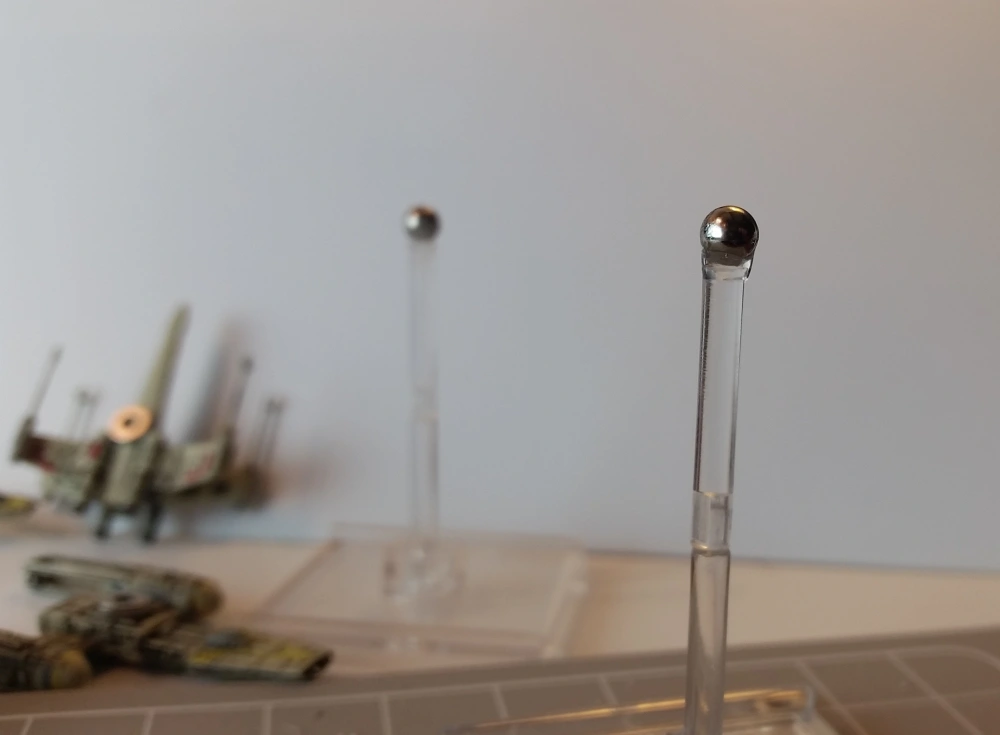
When this dries, you’ll have a solid connection for the ball and the post that should hold up under most game usage long term.
Advanced Class: Magnetized B-Wing Cockpit Rotation
The majority of ships will be just as easy as the process above. But B-Wings have a rotational cockpit. We can debate the science behind this, but it’s Star Wars. Science isn’t always important. I’m just here to modify the ships, lol.
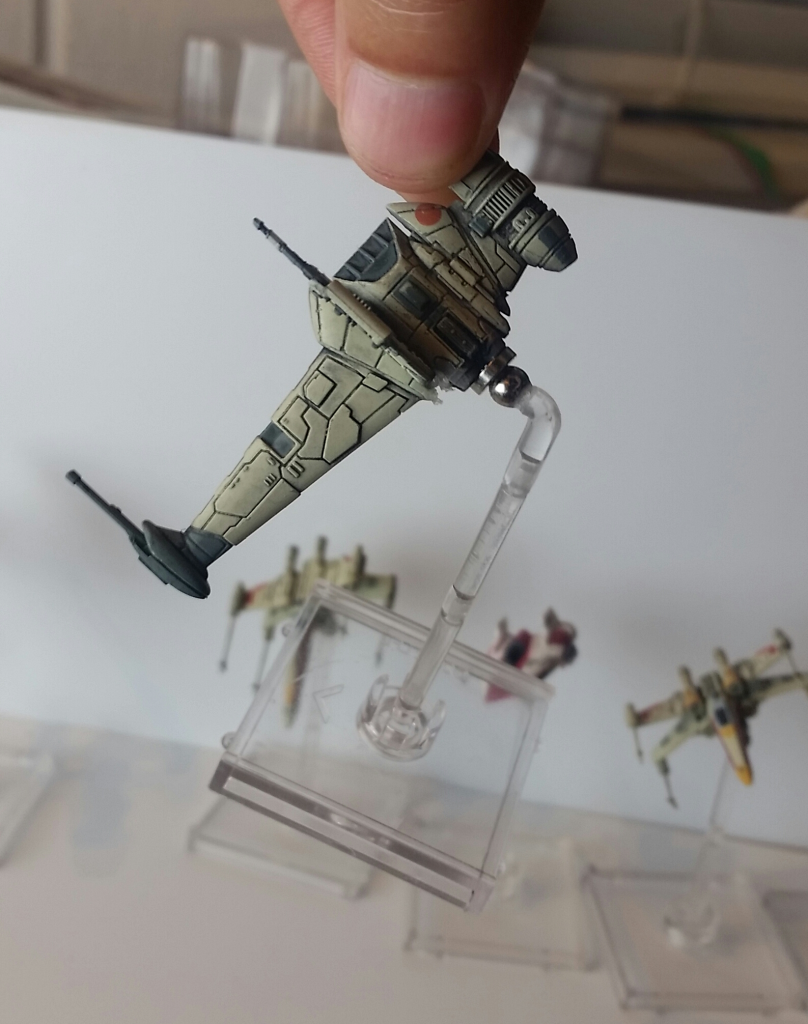
The nice part about this is that the front of the cockpit is held on by an internal glued peg, which makes cutting it off easy. You then just have to ensure that your drill holes are centered and lined up.
I used 1/16th by 1/16th cylinder magnets, but 1/8th (wide) by 1/16th (deep) would probably work and give a little more grip.
The end result?
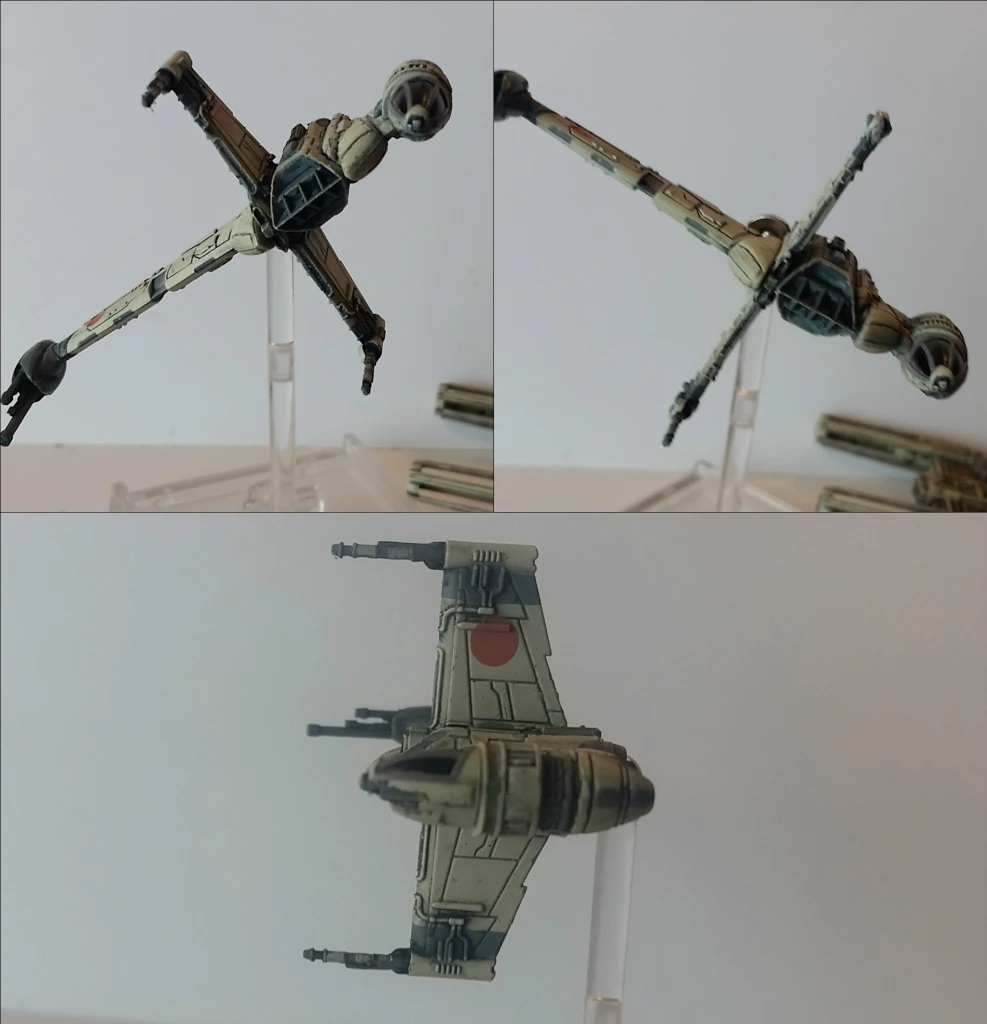
And it’s pretty strong, so you don’t have to worry about losing the cockpit as long as you’re storing them properly and safely. It’s definitely not coming off mid game unless you’re really trying or really clumsy.
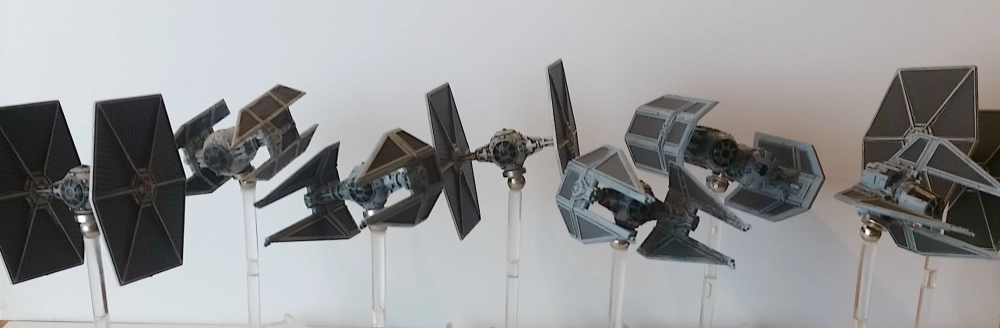
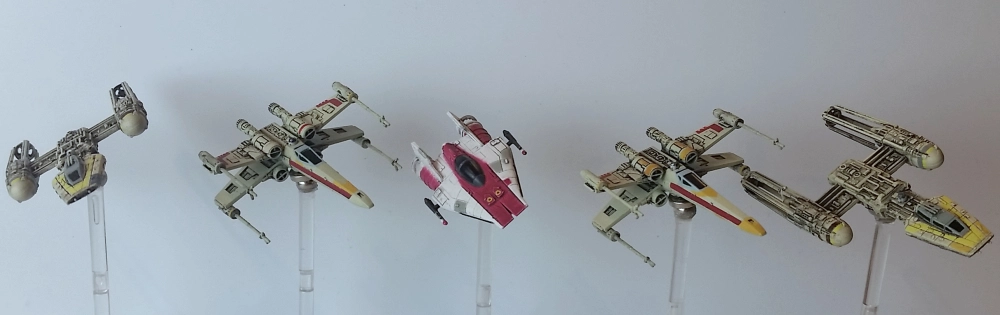
So, there you go. Now you have magnetized miniatures for X-Wing. Simple, cheap and totally revamps the visual aspect of the game. How cheap? I did 20 of them for $12, including shipping. I used kjmagnetics.com for the magnets.
The ball bearings are Product ID NSB3
The ring magnets are Product ID R421
The B-Wing cockpit magnets were D11-N52 (the stronger N52 magnets are probably a good idea for this, and they only 20 cents more for ten)
Let me know in the comments below if you have any questions or comments.
Also, check out my Facebook Page.
https://www.facebook.com/LeaveNoModelUnconverted/


Brilliant! I’ve done a lot of work with magnets, but have never seen the rings. Combining them with steel balls has all sorts of modelling possibilities
LikeLiked by 1 person
I’m glad you liked it. I found the idea online, and it’s just so simple and cheap that it’s almost a shame to *not* do this with your X-Wing miniatures. At least with the Small Base ships.
I hadn’t seen too many good tutorials on the process, so I thought I would make one. Unlike true scaling the Space Marines, this is incredibly easy and quick to do. And the end result adds a lot, visually, to the tabletop.
LikeLike